If you’re anything like me, you probably get very tired of looking at the same thing over and over and feel very impacted by your surroundings. As a secondary teacher, I teach the same lesson multiple times a day so it’s important to me that they’re presented in a way that is visually appealing. I make all of my lessons in Google slides so they’re easily accessible and so I can share them with other teachers at my school. There’s a few different ways to ‘spice up’ your slides without using the default templates Google provides for you. There are two different ways that you can do this depending on your comfort level – but both options feel easier and effortless the more you work with them.
Option 1: Slides Carnival
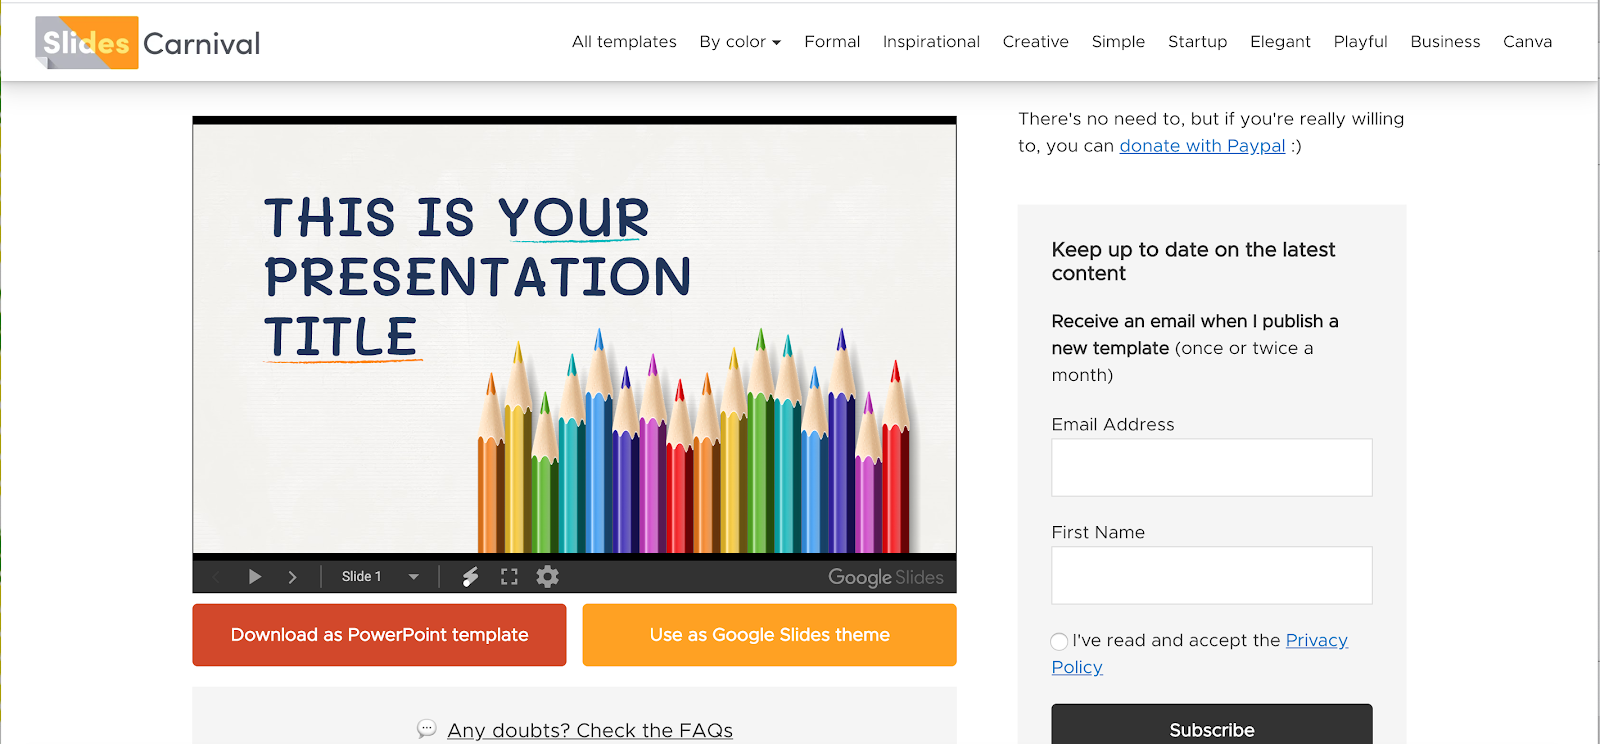
The first way to bring in new templates to your drive is by using the website Slides Carnival. This website is a site that has over 100 free templates that you can import directly right to your drive.
To do this, you can scroll through the pages until you find a presentation that you like. Once you find one, you want to scroll down until you see ‘use as Google Slides theme’.
It will then take you to another page with the option to ‘use template’ at the top. You will have to click on this for it to connect to your drive. It may ask to gain access to your drive – if it does, you want to allow permission.

After you have completed this step, it will take you to a pre-made slideshow in your drive. This is just the full template – you do not have to do anything with this presentation. Once it is loaded, close out of the presentation. *make sure you do not delete this in your drive – I usually put this in a ‘miscellaneous folder’ so I don’t notice that it’s there*
Now that you have the template imported, you can find a presentation that you previously had and want to change, or start a new presentation. Once you have it, click on ‘theme’ in the top toolbar. There should be a panel that pops up on the right. At the bottom of the panel, click on ‘import theme’.

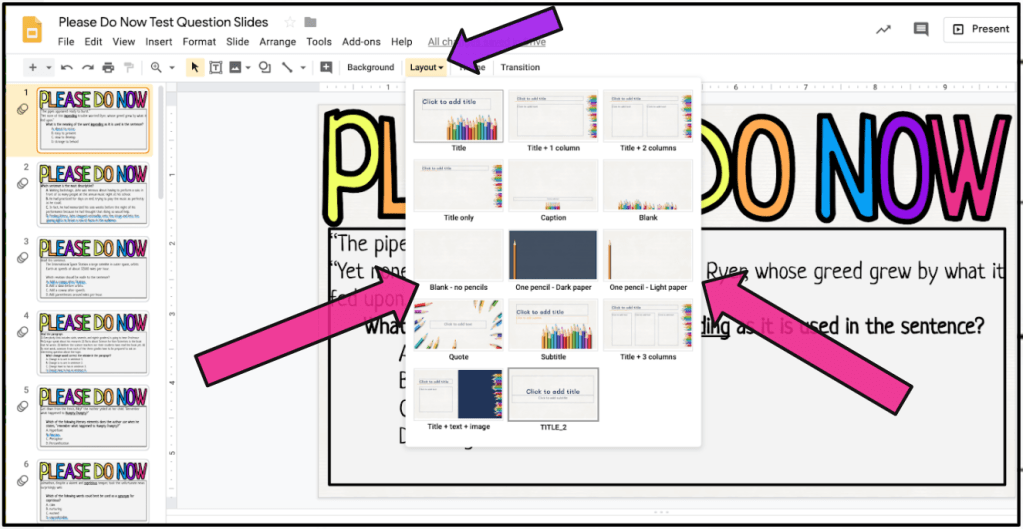
Once you have imported the theme, you may notice that it doesn’t look exactly like it did in the original slideshow that you saw. The reason for this is because there are many different pages to pick from. If you want to use a different layout, click on ‘layout’ at the top toolbar and then choose the one that you want!
From there, you can choose all of the different options and everything that you need is embedded in the template – fonts, text boxes, colors, etc.!
Option 2: Create Your Own
The other option to ‘spicing up’ your slides is to create your own from scratch. This one takes a little bit more work and can use some more creativity, but you can use this to your advantage and use a theme that reflects your lesson or teaching style. For this one, you want to start out with a blank template or find an existing one that you want to revamp.
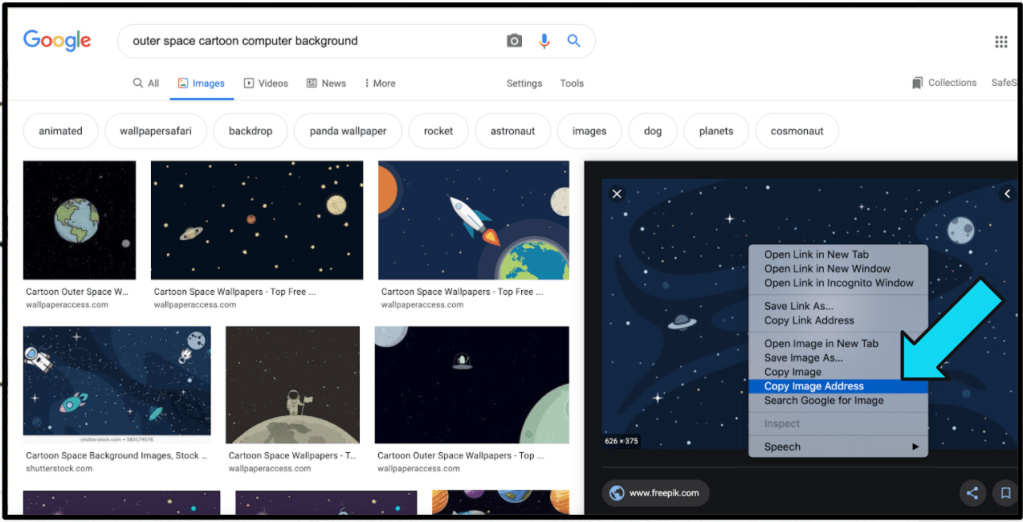
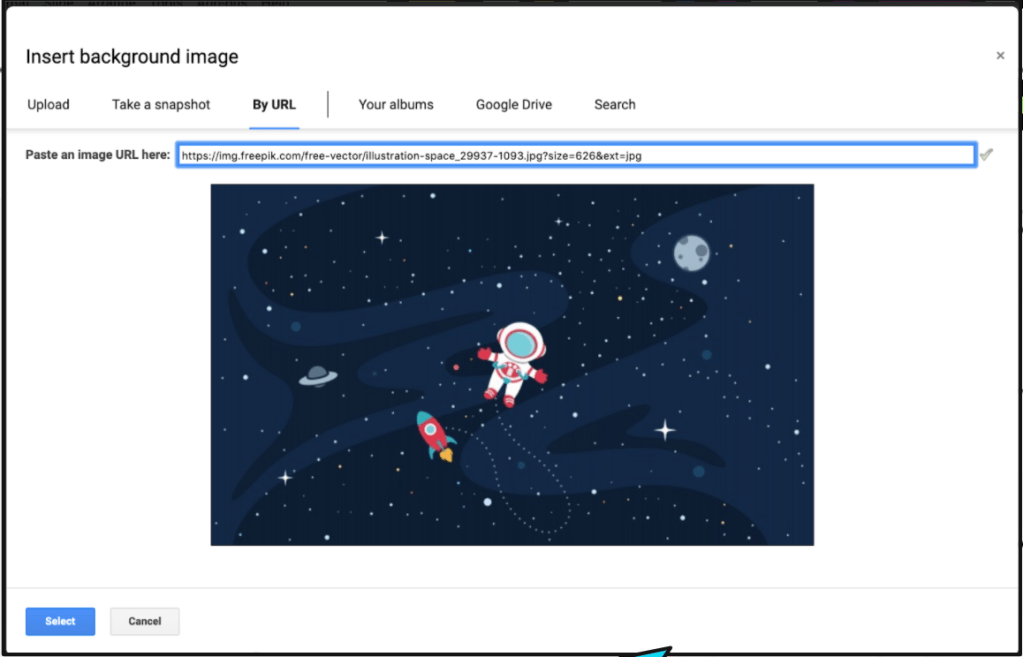
The first thing you need to do is find a picture that you want to use as your background. For example, if your teaching a lesson on planets, you might want the background to be picture of the solar system. Right click on the image and click ‘copy image address.’
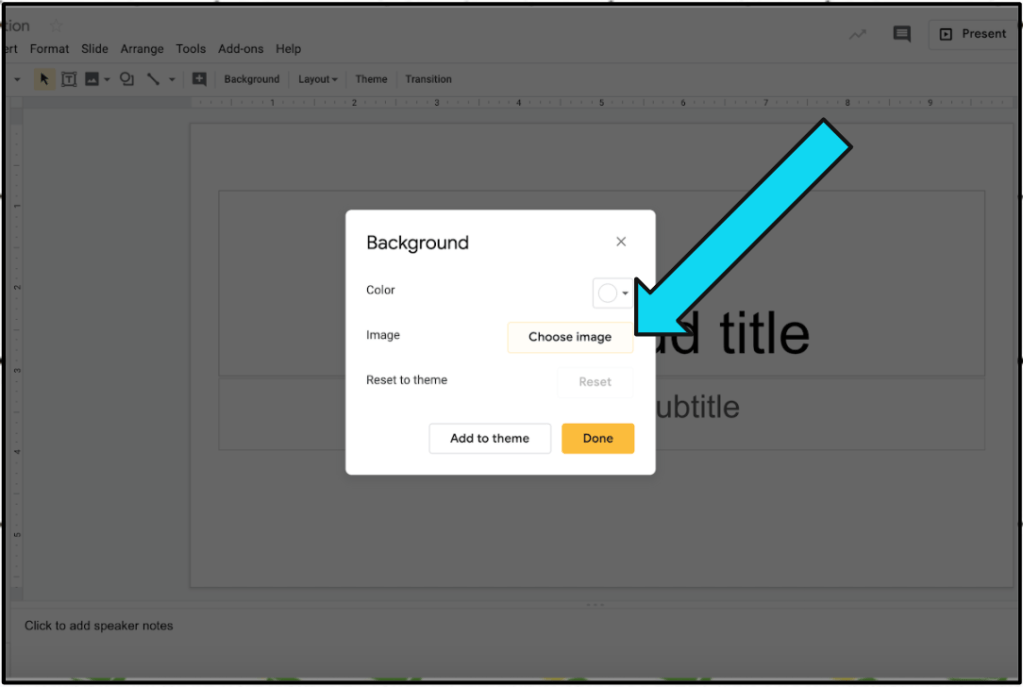
Then, go back to your presentation and click on ‘background in the top toolbar. Click on ‘choose image’ and import the background by copying the URL into ‘by URL’. Click ‘select’ and ‘done’.
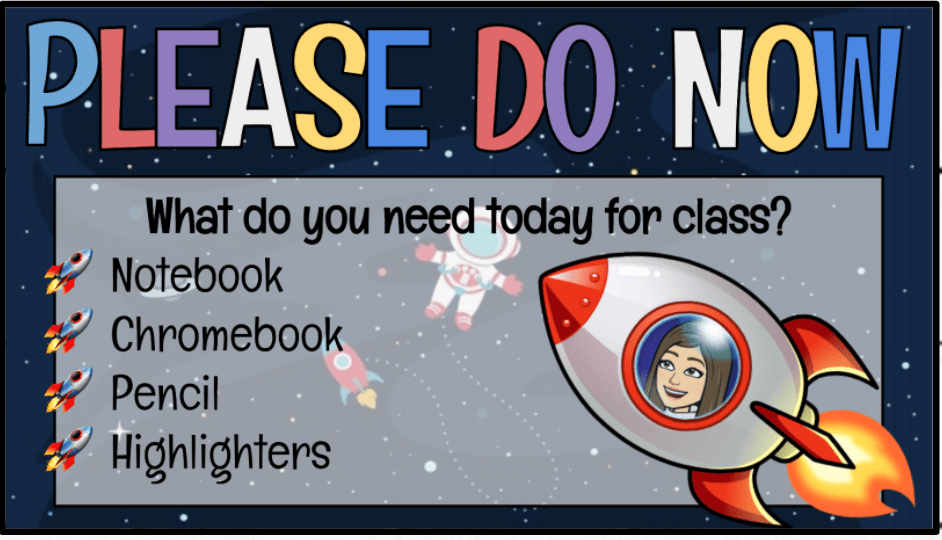
From here, you can create a header by inserting Word Art and inserting your own text boxes. These can be accessed in the toolbar. Once everything is colored and images are imported, you can right click on the slide and ‘duplicate’ it. From here, edit and make adjustments as needed.
Other Tips
For my headers, I use Word Art and do each letter individually (this allows me to space better and alternate colors). In addition, you can insert your Bitmoji, clipart, or other images to reflect your lesson.
I always suggest to stick with a color scheme – neutrals and a few colors that go along with the background or your style. I usually copy a few colors from the background or image/Bitmoji that I put in the presentation. Once I have my first slide all set, I right click the slide, duplicate it, and continue making my full presentation.
In addition to duplicating the first slide for the full presentation, you can also copy the slides over to other presentations to keep things uniform. Sometimes creating a slideshow or presentation from scratch can take some time, but if you copy and duplicate the slides, it will be much easier. The more that you use these tips, the more effortless it will feel. At first, I felt like I was spending SO much time creating everything, but now it doesn’t take me nearly as long and I don’t have the urge to change the slides each time I open them!
